Friday, 5 April 2013

A homage to Alan Peters


I saw this at an exhibition a few years ago and made this similar but smaller version from memory. I hope he would have approved. It is in Ash with an Olive streak and American Black Walnut foot.


The tenons stop short of the top and there are ABW inlays to match the foot. That of course was deliberate planning ;-) Another mistake was to finish it in Danish Oil which has now turned a tedious yellow. It should have been acid cat laquer.

I have recently bought some Rosewood from AP's workshop stock and I will have to think long and hard of a suitable tribute on which to use it. I met him once at an exhibition and he was a most unassuming man, bearing in mind his huge achievements in modern design incorporating Japanese elements.

It is true that his tool range was limited and that he used a No 7 for almost everything, but I can't see anything wrong with that.

I also have an AP garden bench seat which I made in 1980 and is now rotten which once appeared as a free plan in The Woodworker. I will do a measured drawing for use in re-creating this piece later. Does anyone remember it?

Thursday, 4 April 2013

Last day on the tools

The recent thread got me very dirty but I was there in only to observe the action. I had previously vowed to come off the tools on my 55th birthday, which I achieved in Aug 2006, after a full day in the pouring rain at Kilmacow on the Irish South coast.


I thought I'd record the event for posterity (and celebration) and balanced my camera on self-timer on the end of the screen. Call it a late appreciation of the value of delegation or just old age taking it's toll!

In the 6 years since I have grown to appreciate the rightness of that decision and continue to be impressed by the achievements of our site teams.  I hope and intend to use my experience to assist their efforts and avoid some of the pitfalls that await the unwary.

Some tool handles

Handles are strange things. A good one feels almost too comfortable to be true and a bad one ruins the using and making experience. It is another example of a largely lost art as nearly all modern tools have very basic handles and that is not only true of less expensive kit. A handle is an organic thing as it must be designed to fit an organic recipient.

I have taken my patterns from some 100 year old examples and adapted them to my own (rather large) hands.

First a job for my Mum, re-handling an old Sheffield kitchen knife which has an extremely thin and flexible blade like a pallet knife and holds a beautiful edge. I used a piece of cherry which, after chiselling to shape, I contoured to suit my hand on a sanding drum in the drill press. The finish is just finishing oil so this is definitely not one for the dishwasher.


Next up is a Spear and Jackson "Professional" tenon saw from the 1970's, which is technically very good and actually holds it's edge longer than my older saws. It is brass backed but was very badly let down by an appalling handle which was very uncomfortable, wrongly angled for control and appeared to be finished in congealed jam.

I copied an old Sheffield design in bubinga and adjusted to my own hand, which is not only pleasing to look at, but allows a much better control of the saw. The matt finish is just a single coat of finishing oil as it will quickly develop it's own patina in use.


I also had a dovetail saw from the same stable which I treated to a copy of a turn of century Disston replica, also in bubinga.


Note the significant difference in angle between the two grips, each optimised for it's particular use by people who understood the practice woodwork, rather than marketing, and probably unfettered by the accountant's dead hand. What is apparent is that the line of pressure from the handle crosses the tooth line about 1/3 of the way along the blade in both cases. Maybe someone more knowledgeable than me might like to comment on this.


Finally a little good news story to raise hope for the future. A few years ago I bought a Chinese made Quangsheng No 6 plane, in most respects a copy of the traditional Stanley, with a few useful improvements.

The quality of manufacture of these planes is much better than the later Stanley's, which had suffered the effects of accountancy engineering to the point where they were virtually unusable. Engineering suicide to the loss of all those involved. This initially opened the way for high quality copies or improved developments which had  become available in the 1990's and were excellent but costly. The Chinese aimed to fill this gap and had done enough to establish a good reputation.

Inspired by this I ordered my No 6 and was initially very impressed as not only were the materials very well chosen and effective but the quality of machining was excellent and almost equal to the costly alternatives.

When I began to use the plane I quickly realised that all was not well and found it difficult to control, with the plane skewing sideways along the stroke. It was possible to overcome this but the essential balance of a quality (and indeed the original) tool was missing. An additional problem was that the adjuster was out of reach, which is annoying and unnecessary.

I quickly realised this was due to the position of the handle, which was much too far back and away from the cutting edge, the converse of what is required. I am at a loss to understand why a product which is an almost exact copy should have such a major dimensional difference in only one aspect, but it had.

To me the plane was unusable and to be fair to the UK supplier, Workshop Heaven, they agreed to a credit when I complained.

So far so good. I was both surprised and pleased when a year or so later a revised version was launched with, (you guessed it), a re-positioned handle. Well done all concerned.


The old version with mis-placed handle
  

Monday, 1 April 2013

New chisel preparation

Another thread for the toolies, but they may be disappointed as I did not spend a week at it. I treated myself to a set of Ashley Isles cabinet makers chisels which are very thin and therefore ideal for tight spaces but not for heavy joinery. They claim to have a slight hollow in the back which should speed preparation so I put this to the test. The full set covers 3-50mm so I am unlikely to be stuck for a chisel in future!


As delivered these chisels gave a good impression with nicely fitted, bubinga handles and wax protection for the finely ground blades. These are the Mark 2 incarnation with smaller handles further up the size range leaving the giant grips of the Mark 1's for 30mm up. I originally bought these a couple of years ago and I have noticed a reduction in finish quality since, particularly with poorly fitting, off-centred handles. It would be a pity if they spoilt a good tool with such minor flaws, so check before you buy.

I use Japanesse water stones for sharpening and so set about the backs on a 1000 grit, freshly flattened stone.


The theory about the hollowed backs appears correct and I quickly achieved a smooth edge. The grinding is fine anyway, compared to many modern offerings, but this takes only a minute.


On some sizes an unexpected problem arose which I put down to the grinder or linisher lifting the handle at the end of the stroke of back hollowing which rounds the edge slightly. Not a deal breaker but annoying on tools of this quality. You can just see it on the blade below.


They really are thin blades and can flex on the narrow widths when faced with tough challenges. I feel they are really for hand use although will come to no harm with the odd clout from a mallet on the larger sizes.

The edges are beautifully thin, almost sharp, and therefore ideal for dovetailing.


When ready I tested them on some end grain columbian pine, which is by no means an easy timber, and, as you can see, it pared perfectly.


These are an excellent example of the toolmakers art, with a couple of minor gripes, and I expect to enjoy them for many years to come. Edge retention has proved very good and they are easy to sharpen so a nice balance of properties in the steel.  My only caution is that they are not suitable for heavy work.


Krenovish tool chest

You can never have too much tool storage and it is an opportunity to let your imagination go off a bit as only you will need to use it. I wanted access to common tools at a convenient height, in full extension drawers for easy access and had some spare kitchen cabinets left over from the utility room. I also wanted to experiment with some design ideas and construction methods prior to using them on "real" furniture.

As a fan of the late St Jim one of my experiments was going to be with organic leg proportions to see if my hypothetical formula of 25% reduction in thickness 25% of the way along the leg actually worked in practice.

I also had a small pierce of spalted beech, too small for a door panel but large enough for a decorative inlay which appealed.

Perhaps I should start with a picture of the finished cabinet so that those who are not students of JK will know what I am talking about. This is taken prior to any finish being applied and the chest is about 1200mm high


I started with the two kitchen cabinets and some redwood for the legs. I intended to template them on the spindle so needed to make up a template in MDF first. I used the 25% in 25% proportions but immediately realised this was wrong as I had not allowed for the top of the leg being smaller than the foot. This was a further 25% reduction.


I used a batten to smooth the curve and needed a matching pair for left and right hand legs

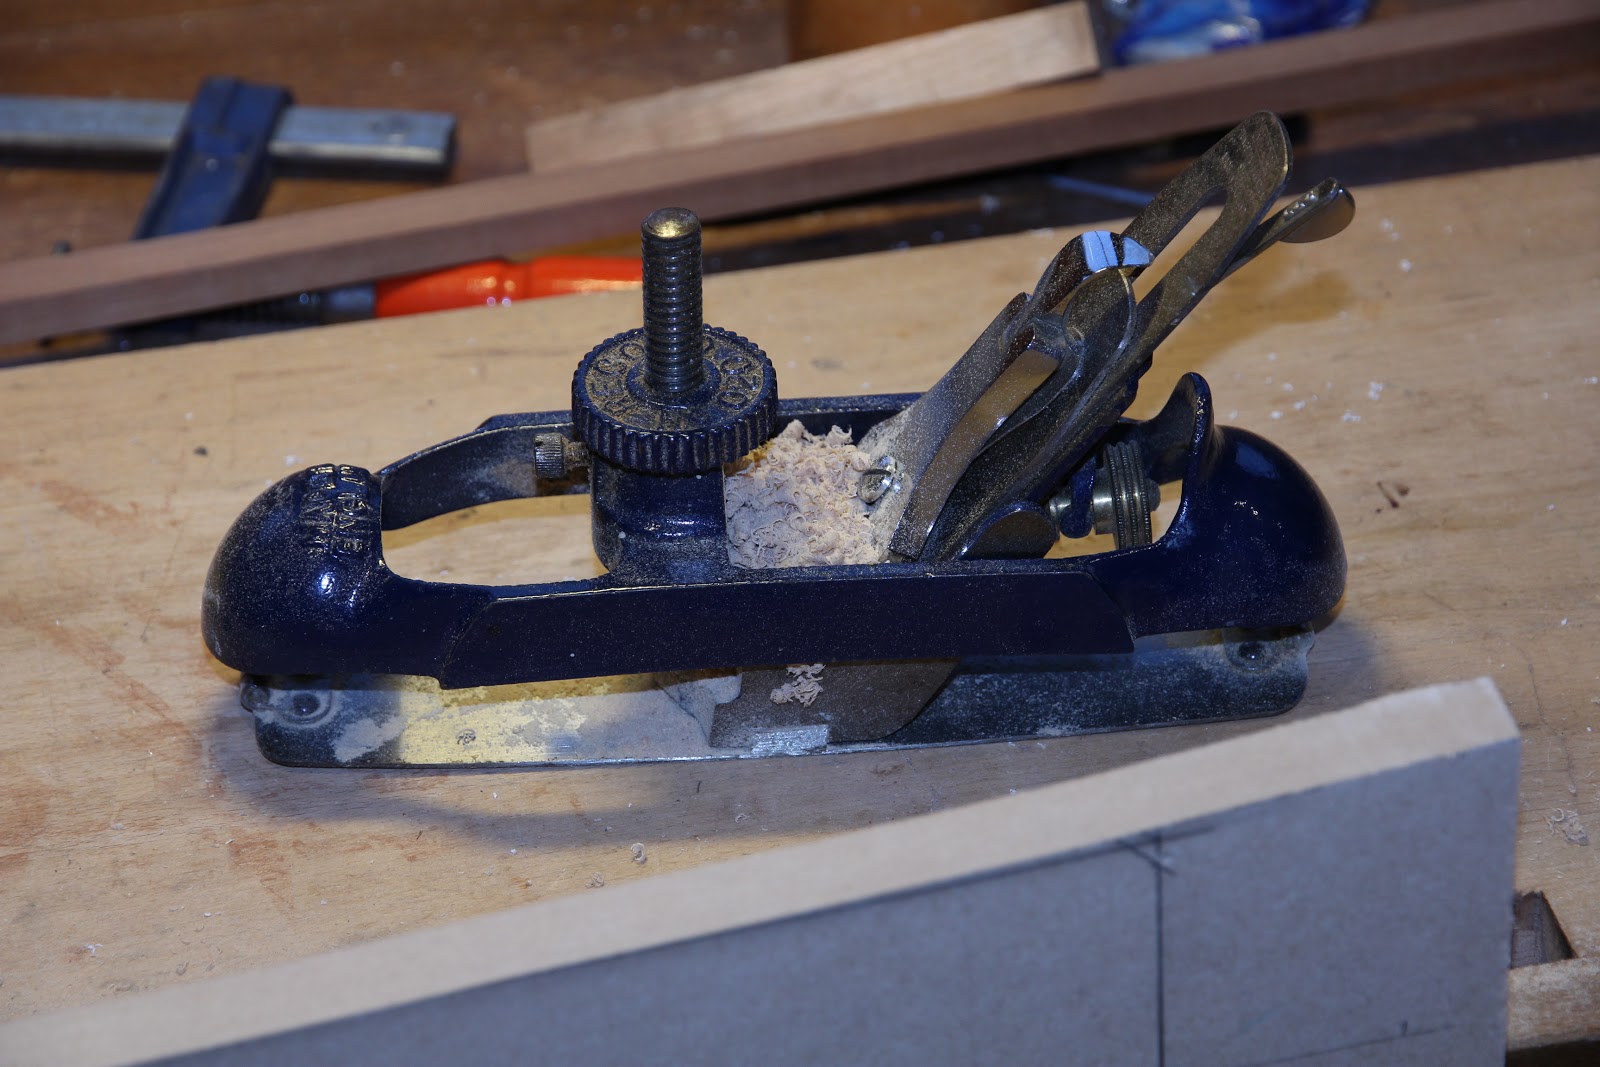
I used a circular plane to smooth the profile which worked much better than I expected, both on the template and later on the finished legs.


With some end blocks and toggle clamps attached we were ready for the shaping. Initially I bandsawed off the excess before moulding but this proved to be unnecessary and I just shaped the others directly on the spindle. It was useful have access to a tennoning hood, rather than the normal spindle fence, as this left room to manoeuvre the profile to the bearing guide.


I needed two cuts at different heights to complete each face.


I screwed the  two cabinets together and then screwed the legs from the inside. To the horror of the purists it was very much "design as you go" in order to experiment with ideas and this applied to the angle of the legs which was achieved by trial and error before trimming the bottoms to a flat surface and the tops to what I considered at the time to be a jaunty angle to put a bit of tension to it.


I stained the legs with some left over Indian Rosewood stain but later decided to rebate them to create a step under the cabinet to take what was expected to be a considerable future load.


Next for the drawer carcasses. I prepared the stock from some american cherry boards I had in stock from the door casings and managed to use up all the short board ends which was satisfying as this is an expensive timber nowadays.


 I decided to risk gang sawing for the first time and gradually worked up to four at a time which made me feel like a pieceworker.


I drilled a hole in the centre of the waste put and extra cut down the centre of each piece to create some clearance and ease removal after the coping saw. This works well and keeps jam ups to a minimum.


Ready for cleaning up


]
Chopping and paring back to the gauge line went well and use of the cutting gauge really helps leave a clean shoulder.


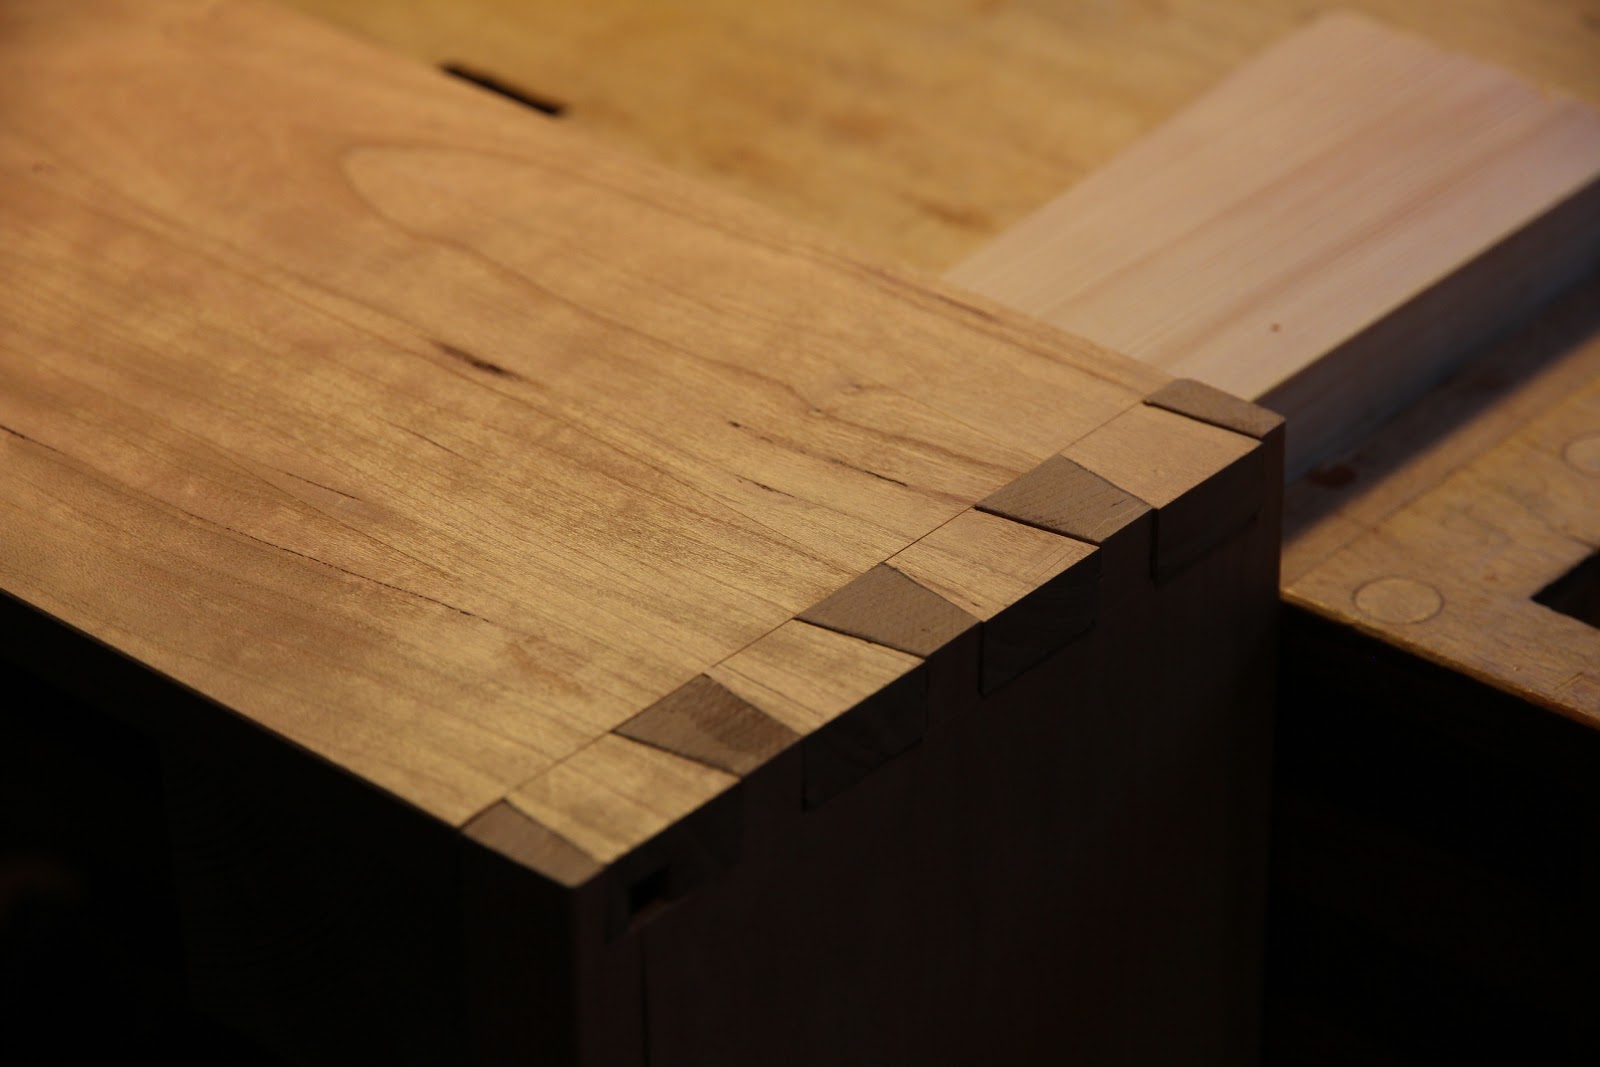
Having used the tails to mark the pins these were sawn out, again using a drilling to ease waste removal. This is very quick and well worth doing, especially if you have quite a few to make.


The pile slowly increased.


I tried a test fitting before going further


Having glued up on a building board to ensure squareness and for convenience it was time to clean up using a low angle jack on the end grain of the pins.


One down five to go. The sides were grooved directly for the 12mm veneered MDF bottoms as I was using drawer slides. I would have preferred under mounted slides but I had the side mounted ones in stock from a previous ordering mistake. As I said at the outset this cabinet was a mule for many things.


The bottoms were dimensioned on the saw, again from left overs, and fielded on the spindle to fit the 6mm grooves.


The veneered MDF was on a medite core, which I had not tried previously, and I was very pleased with the finish available directly from the machine.


The centre muntins were essential to carry the load of tools and were tennoned into the front groove and screwed up into the back with an extra long screw.


I was pleased with the way it went together and I think should stand the test of time and usage well.


Now for the all important drawer fronts which were made from the sapele treads from the old spiral staircase we had removed earlier.


Once dimensioned they were arranged for best layout although I couldn't achieve any flow over the entire front as the stairs were cut from random boards. Nevertheless it was nice timber (and free)


I book matched the board of spalted beech which had been in stock waiting for this day for many years and bandsawed it down to 4mm then 3mm on the thicknesser. I had the idea of a cascade effect down the front placed off to one side. 


The fronts were spaced out to match the eventual placing and clamped up wioth wedged on the building board ready for routing out the recess for the inlay.


To prepare the inlay I edged the boards and sketched the desired profile to match the grain before folding them together and smoothing the curve with a spokeshave so that it was symmetrical.


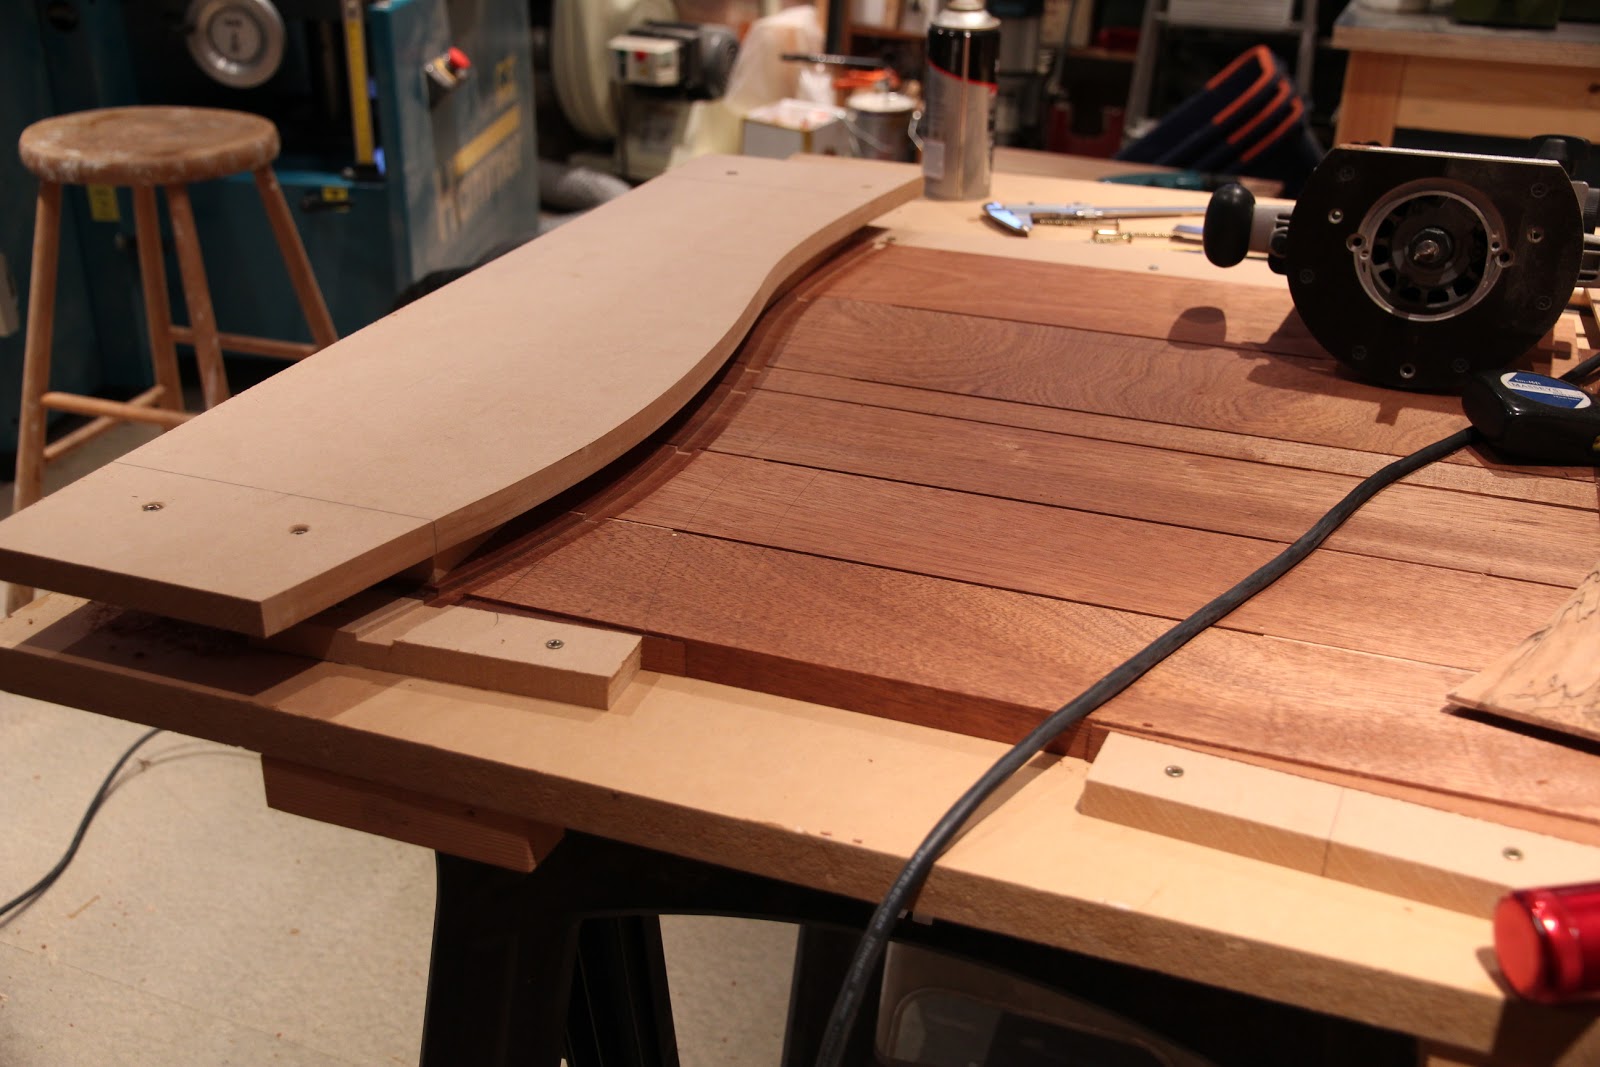
With hindsight I may have not used the best approach to make the routing template but I decided to make a matching template to guide the router. I profiled this from MDF and carefullyt adjusted it with the spokeshave and circular plane for a dead fit on the inlay. It was easy to check by sighting agianst the light for "leaks".


I positioned the panel for best effect and placed the template


The template had to be raised on blocks to suite the only available template bit and I screwed the whole jig to the building board to prevent unwanted movement. The fronts remained clamped by wedges and screw blocks to the board although, in the event this did not prove enough to prevent movement while routing. (Another lesson learned)


I flipped the template for the other side after some careful measuring


On trial fitting all seemed well. The inlay was marked for cutting between panels.


Once trimmed each piece was glued into the appropriate drawer from and clamped securely.


Time for some more delicate smoothing with the high angle bevel up smoother


Next it was time to fit the drawers and slides. I decided to make some spacers to position the slides in the carcass. These had to be made precisely to size to maintain the spacing so were shot with the LA jack (any excuse :-))


I clamped the slides above the spacers which ensured the correct positioning on both sides.


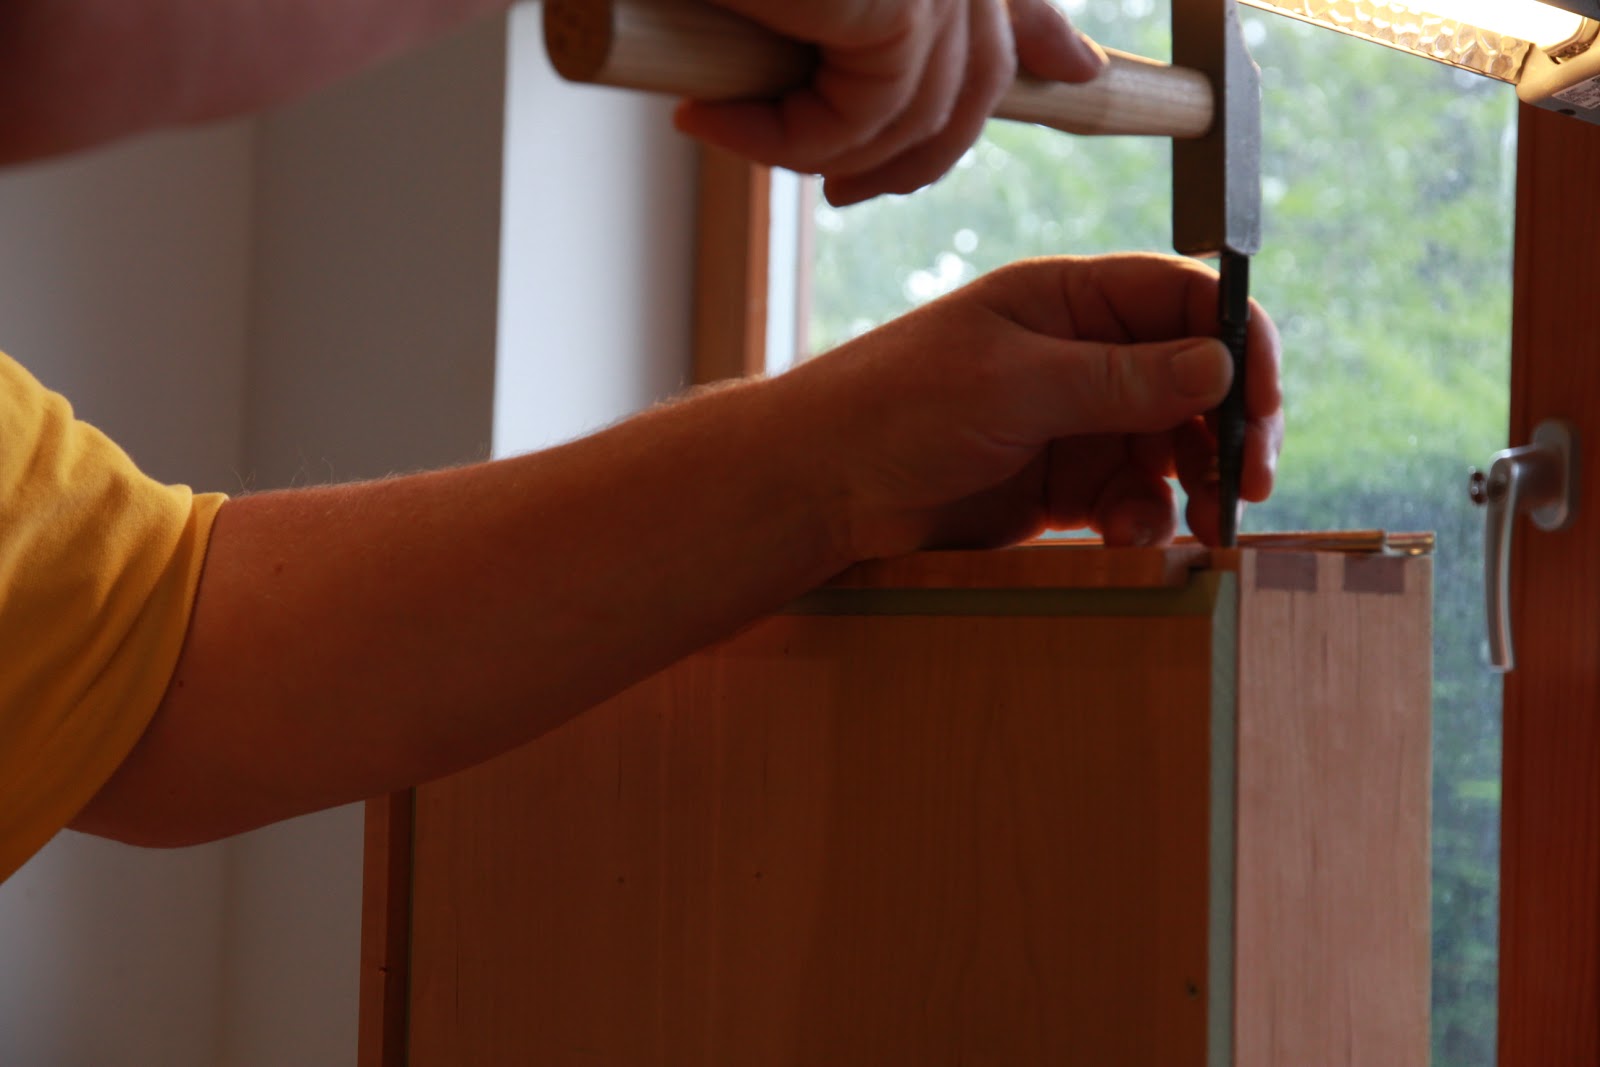
I have a tendency to go back to my engineering background when looking for accuracy and centre punched the screw positions in the drawer sides. I am not convinced this is the correct approach as the center punch has a tendency to follow the grain. (not a problem with mild steel). Note the £3 Euro hammer from the tragic Footprint liquidation.


Drawers trial fitted, ready for final adjustment, and began fitting the fronts.


Finally got it all together


Quickly filled with waiting tools


Not to everyone's taste I know but like it :-) thanks for looking