Friday, 3 May 2013

Making euro windows without dedicated tooling (Almost)


I originally saw these windows in Germany but they are widely used throughout Europe, and particularly Scandinavia, where the excellent insulation is essential. Most of Europe likes timber as it is everywhere, although there is a small presence of the dastardly plastic in the cities, along with a lot more powder coated metal with thermal breaks.

Almost all of them are inward opening, tilt and turn, which makes cleaning easy from the inside and use a standard mechanism, usually from Roto. YOu can leave them open in the rain without drowning your  windowsill.


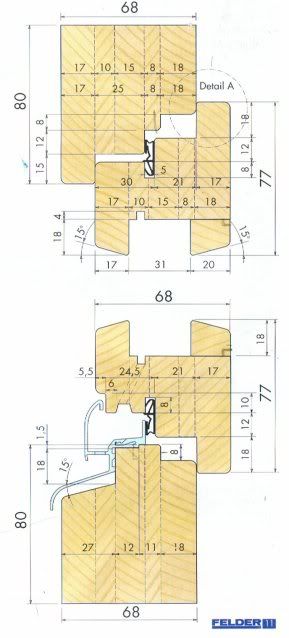
The weather resistance is outstanding with internal drain channels discharging into a special alloy bottom rail which runs the water out to an alloy cill. This deals with the most common cause of rot, the cill, and an additional profile is available to cover the bottom rail of the casement for additional protection. There is a substantial compression seal, much larger than the standard UK wiping seal, which can be augmented by a second seal on the inner rebate for complete draught proofing. There are 3 rebates on the casement, two to provide positive location against the frame and a central one to control the compression on the seal.


In my case I chose triple glazing, owing to the extreme exposure of the site and the large glazed area in our 1960's house. This consisted of 4/12/4/12/4 with K glass on the inside and argon filled. South facing units were additionally bronze tinted to control excess solar gain which proved very effective.

In my case I chose Douglas Fir (also known as Columbian or Oregon Pine) for it's high resin content which resists rot and attractive grain but it is not an easy timber to work with highly defined growth rings which can deflect hand tools and frequent resin pockets and alternating grain. The timber is prone to surface checking and splinters easily which usually turn septic owing to the resin. In some cases the dust and resin can be a skin irritant. It is expensive and often found in the offices of our ever frugal  public servants.

External finish is usually porous Sadolin or Sikkens.

Our house required 37 casements in 1 to 4 pane units, two big tilt and slide patio doors, with glazed panels either side, and two glass walls, one single and one 2 story. If I had realised how much work this was at the outset I would have chosen a different approach but I was keen to make them myself. Although I had a universal machine, with tilting spindle moulder, saw and planer thicknesser I was not intending to become a commercial maker and so did not feel the £4500 investment in purpose spindle tooling was justified. (Maybe not true with hindsight!) Consequently I made them all with standard rebate blocks and slotters.

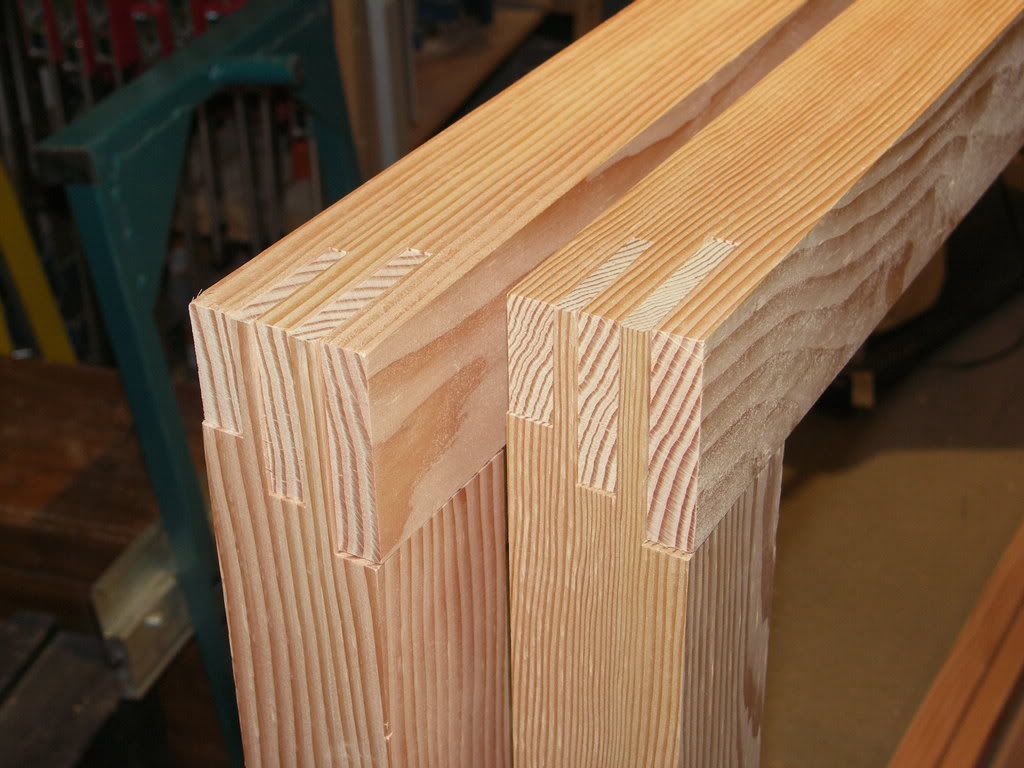
The design is based on double bridles and stepped shoulders match the rebates. The stock is all 80 x 68 thick with 1 off 8mm and 1 off 10mm tenons per corner, positioned to match the rebates. Felder do a useful book with dimensions of all the layouts including arched tops and double doors, although there is an error in the basic casement size calculation, so proceed with caution. The original versions of this style had external pivot hinges in the bottom corner needing only 18mm rebates for the stays but more recent designs require 20mm rebates and the gear is completely concealed. The good gear was called Roto Royale but this has since been superceded by ST which works but is not so well engineered. On the positive side it is easier to fit. All the gear fits in a standard Eurogroove which for the uninitiated is a 12.3mm square rebate under a 16 x 2 cover strip housing on the surface. It is worth buying a dedicated cutter to make Eurogrooves as they save a lot of time.


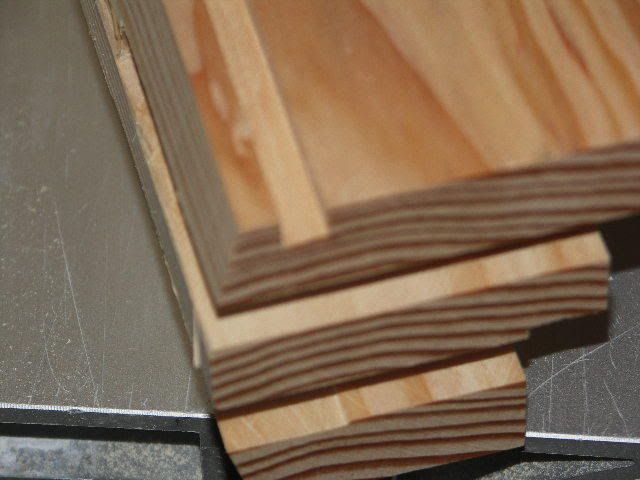
There was quite a bit of work just getting the timber to size. Both inner and outer are 80 x 68 in this version.
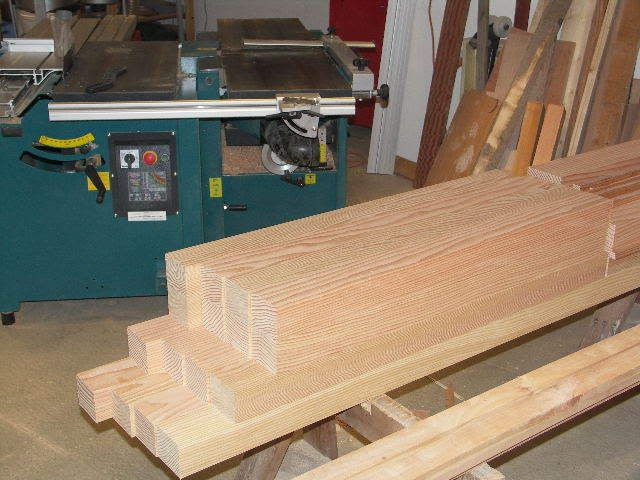


I used a rod to mark out the dimensions. It is easy to lose your way so I ended up marking each piece of the bridle joints. First the mortices were cut in the top and bottom rails for multi openers while still square.


The bridles are a bit of a brain teaser


Tenons on long sections were cut on the bandsaw


The vertical and short lengths are cut on the spindle using a 250mm adjustable slitter.
I had to use a tennoning hood, rather than the normal moulding fence, owing to the cutter diameter, so used the rip fence to position the rails before clamping to the sliding table for the cut.
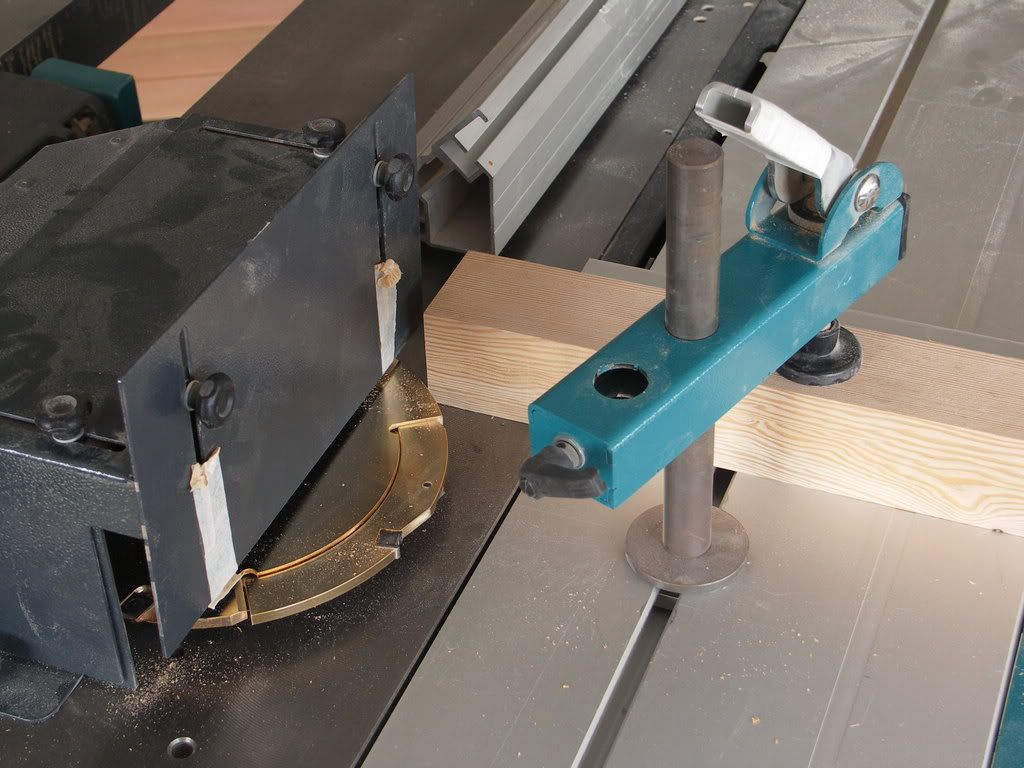


The tenon shoulders were cut using a special cap in the recessed head. I had this one made but gather they are now available from Wealdens.
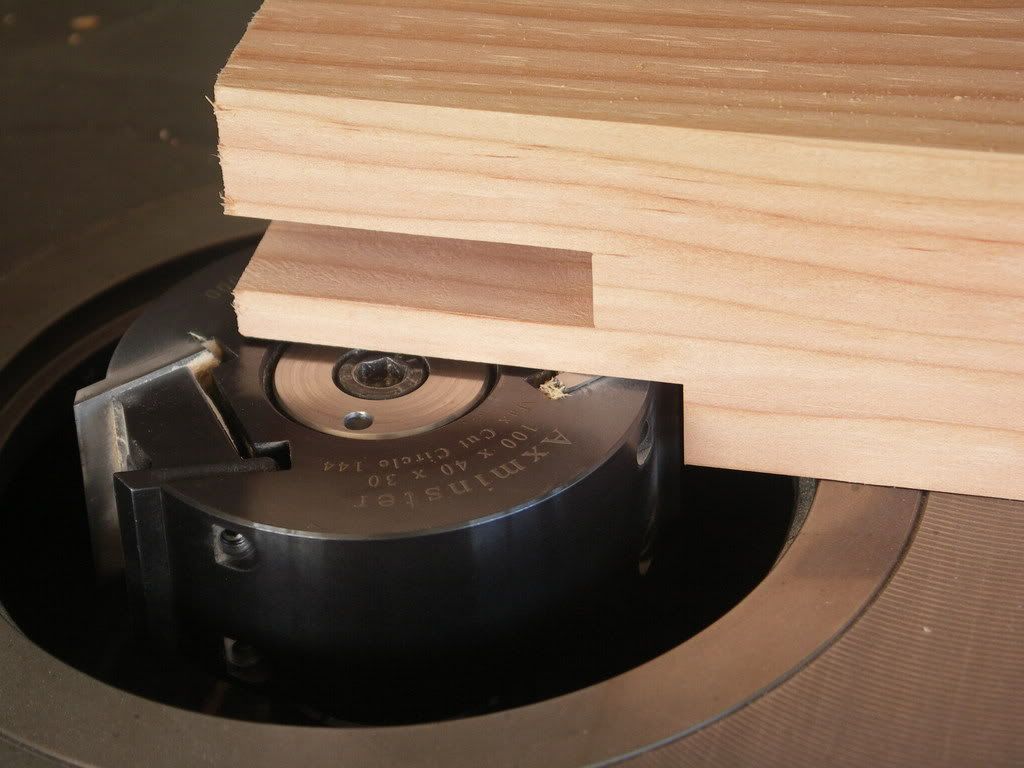


I did try various ways of trimming the scribe with a chamfer knife and the spindle tilted and on the table saw with an extension sacrificial fence but, in the end, it proved quicker to saw them by hand with an angles guide block.
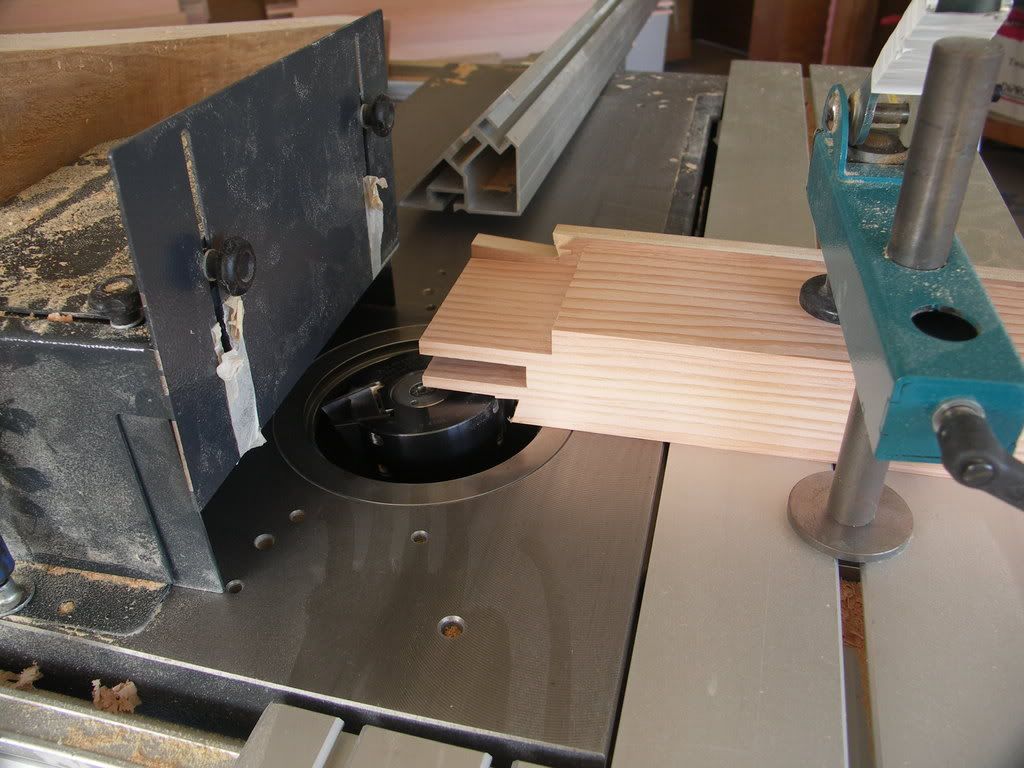


Slotting cut were made with backers to prevent spelching


On the long rails the rebates were run on before the shoulders were cut but this proved to be a mistake as it was more difficult to sight the lines


Rails and stiles waiting for moulding


Glazing beads were moulded on the rail including a useful rebate to ease later removal for repair then parted off on the saw. The kerf width needs to be established so no further cleaning of the bead is needed.


A final clean up needed the Bevel Up smoother owing to the variable grain


Let the glue up begin. The casements were made on a building board to ensure squareness and the frames on the floor with a carful check of the diagonals with extending rods.

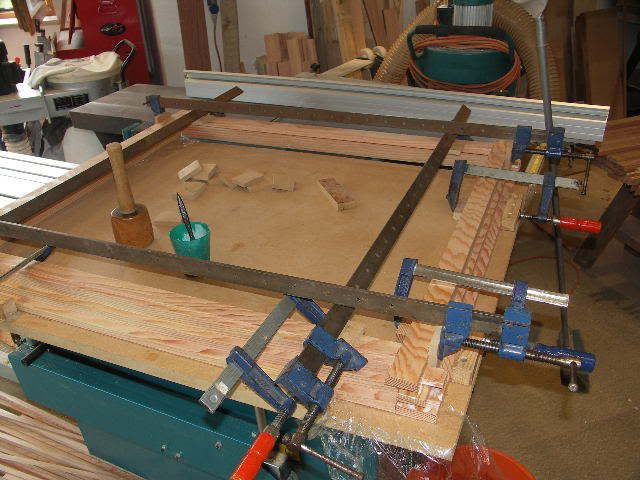


There was quite a pile of them


I quickly ran out of building space


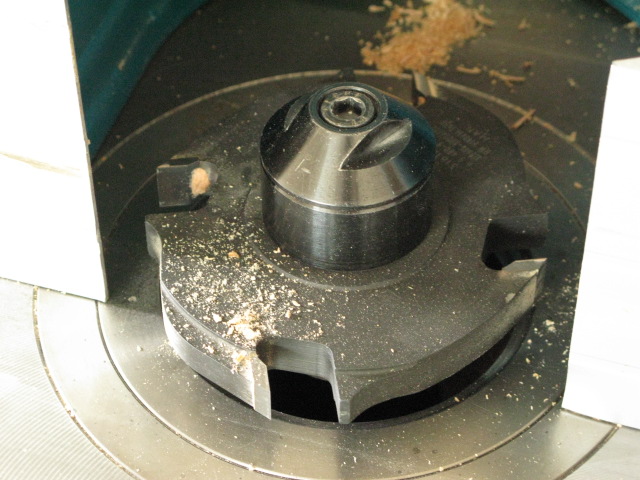
The Eurogroove and seal groove are best done when the casement is glued up so that the corners don't need any later cleaning up and they all line up!

Purpose made EG cutter


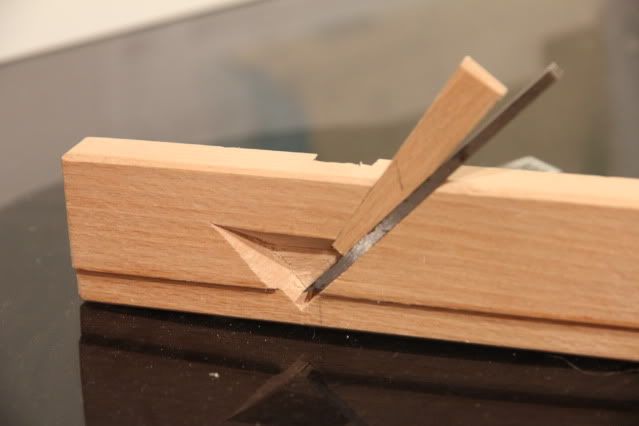
I made a little special plane to clean the shoulder of the groove on some I had made before I had the above cutter. I just used a blade from a Stanley plough. It worked well and could be set LH or RH but note the mistake on the width of the mouth.


Final job before the hardware is the drainage arrangements. I had put a 10mm square internal gutter along the inside of the bottom of the glazing rebate and drained this with 8mm holes at 150mm pitch having previously had trouble with less. I had a jig to ensure I hit the gutter when drilling up from the middle of the drip.

Effective drainage is vital to give the fragile glazing seals the best chance of survival, especially on triple glazing which has twice the chance of failing as double!


Time for some hardware. Starting with the botttom corner hinge the corners are fitted first and then joined with the connector strips with the multi point rollers.


 

The 4 pane with outer openers awaiting and inner skin of blockwork inside and the drip channels and cills outside.


Taking into account the timber frame, perfect sealing and triple glazing I reckon these are about as energy efficient as it is practical to go in the UK. As a independent mzaker I had to get the BCO to sign them off but he was very happy with the arrangements.


Sunday, 28 April 2013

Thoughts on a Japanese woodwork demo


Back in 2010 I visited the Cressing Temple woodwork show which was, in many ways, excellent. There was a significant Japanese element on both stands and tool sales supported by a live demonstration by a "genuine" Japanese woodworker of apparent renown.

Having stood in the crowd for some time watching the object of veneration I was struck by the significant absence of activity. There was much posturing and preparation, gesticulation and posing, but not a lot a sawdust or shaving produced. A significant requirement appeared to be fully toed woolly socks but I failed to spot any prehensile gripping or manipulation taking place. At the end of the day I went back and confirmed that nothing had apparently been made.

Whilst I do have a few Japanese tools, and use them where appropriate, I think the surrounding hype  grossly over-plays their qualities. In particular, since Japanese woodwork is usually in softwood they are not always suited to European timbers and illustrate this by cracking up on the edge. I have also had 4 laminated paring chisels bend into bananas after several years of use and teeth break off saws.

Supporters speak in hushed tones about asiatic meisters, crouching in darkened workshops, in heaps of charcoal and straw, beating out sabre like blades. They use ancient knowledge which is, of course, a closely guarded secret, to be handed to each generation only from the deathbed of the former.

Personally I suspect there is more of a commercial element in exploiting this marketing hype, which is not always sustained by the performance of the tools in use. It is difficult to find planes and chisels which outperform the recent offerings from USA and Canada, not to mention our own, more traditional survivors when used in European conditions. The price levels of Japanese tools tend to support this and are completely unjustified in real terms. Some of the sellers both here and in wider Europe have driven this cult to fever pitch and no doubt profited handsomely from the result.

What really annoys me is the false fervour which is encouraged amongst the believers and leads the less experienced into an expensive and often disappointing experience.

I was reminded of this at yesterday's gathering in Lincolnshire and dug out the original skit clip I made a the time for the benefit of those who may have missed it first time around.


.
It is shown in the original sideways format to illustrate the ridiculousness of the situation and also because I have not been able to find any software to turn it around :-)


Jonny D's open day

We had a Woodies meet at Jon's yesterday, which was a great opportunity to meet up with old friends and some new faces, at one of the best makers in the group. Jon works out in the sticks near Boston and has a large workshop crammed with some solid machinery featuring Wadkin, Sedgewick, Multico etc and some top line hand tools, not least his recent additions from the Veritas stable.

The Peak Hydraulic Group turned out in force for the event and, being currently under doctor's orders, I volunteered to drive. Doug  helpfully decided to bring along a wardrobe door for the edgebanding demonstration so it was a bit cosy in the back seat for a while.

We kicked off with some general milling about and socialising and checked out some of the more exotic hand tools including the Lie Neilsen mitre plane on which I managed to mitre my finger end, some Clifton hollow and round spokeshaves and a Veritas LA jointer with side fence.

Alex brought along the remarkable Festool Jigsaw, which takes the process to a new level and I have heard at least two have been ordered this morning!

We took Jacob (Mr Grimsdale) along, but the personal protection we had arranged proved unnecessary and he is seen here chatting happily to Alex from Derby with wee Bob, Matty and Ed straining in the background trying to hear how to do rounded bevels.

Wee Bob had come along to flog off some dodgy Essex kit and brought his hound for protection. The hound ate the chocolate cake and I picked up some quick clamps which was handy. I also picked up the remnants of the chocolate cake, before being told the hound had cleared the plate, and my current health is testament to the welfare and condition of the dog!


It was great to finally meet Paul Chapman and I had a long and enjoyable exchange of views which was long overdue, great to meet you Paul. We share  some views on modern architecture, windows and the like which at least makes two of us. The rest of you don't know what you are missing.


JH was put to work trimming a pack of veneer which Jon then bonded to a piece of MDF in the Airpress. Many helpful tips emerged in the process and we tried the Mirka sander when it had gone off which was truly excellent and completely dust free. I think we all managed to get a gratuitous shot of the Brooks Bros calendar and wondered why we had not all been offered one!


After an outdoor barbeque, courtesy of Ditchburn senior, Doug's door now came up for processing and we were treated to a demo of the edgebander, which produced an excellent result, before being finally finished with the back of a kitchen knife! Doug looks worried in the background.


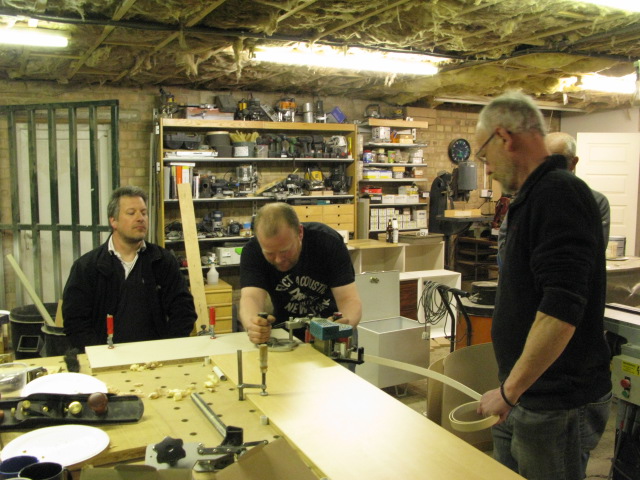
With the practical demos over it was time to go into the classroom with Nick for an introduction to the intricacies of Sketchup. This ever more popular solid drawing software is great for woodwork but you need a different mind-set if you are coming from CAD. Nick did a great job of introducing the basic concepts then giving us an insight into the more advanced possibilities of animations, external background graphics and links to Cutlist etc. Thanks Nick (on the left) it was much appreciated. (although you wouldn't think so from the expressions below!!)


It really is a great offshoot of the woodwork forums that these events take place where we can exchange experience and ideas and have a good social event at the same time. We ended up sampling the local hostelry, which was truly excellent, before gravitating to the usual Indian. Most of the more responsible members then set off for home leaving only the dissolute hard core to sample the fleshpots of Boston and the mandatory marathon session.

Thanks to all and looking forward to the next one. A plane-in at Crich perhaps? 

Friday, 26 April 2013

Veritas Medium Shoulder Plane

I had the opportunity to acquire one of the above second hand and was unable to resist the temptation, being a great fan of Veritas quality and design innovation. For those not yet affected by the (as yet uncurable) toolie virus, the shoulder plane differs from the rebate plane by having a low angle 12 degree bed to cut end grain cleanly on tenon shoulders, secret mitre dovetails and other similar everyday tasks.

For this application it would be better to have a shallow honing angle to further improve performance and, if buying new, I would have specified a traditional A1 carbon steel blade to hold a fine edge. My example came with a high speed steel A2 blade, which will hold it's edge longer, but may need to be honed slightly higher to avoid crumbling of the edge. This is particularly important as the plane is targetted at end grain.

There was a bit of a drama on purchasing when the original owner announced there was an "issue" with these planes in that the bed distorted when the blade clamp was tightened. I took this up with Rob Lee, the MD of Veritas, and he assured me that there was no issue but clearly the effect of tightening the clamp would be to cause some movement, as with any loaded beam, but this was not a significant issue. In any case, it was not necessary to tighten the clamp more than enough to retain the blade.

Fortunately the plane arrived in good condition and had clearly seen little use.


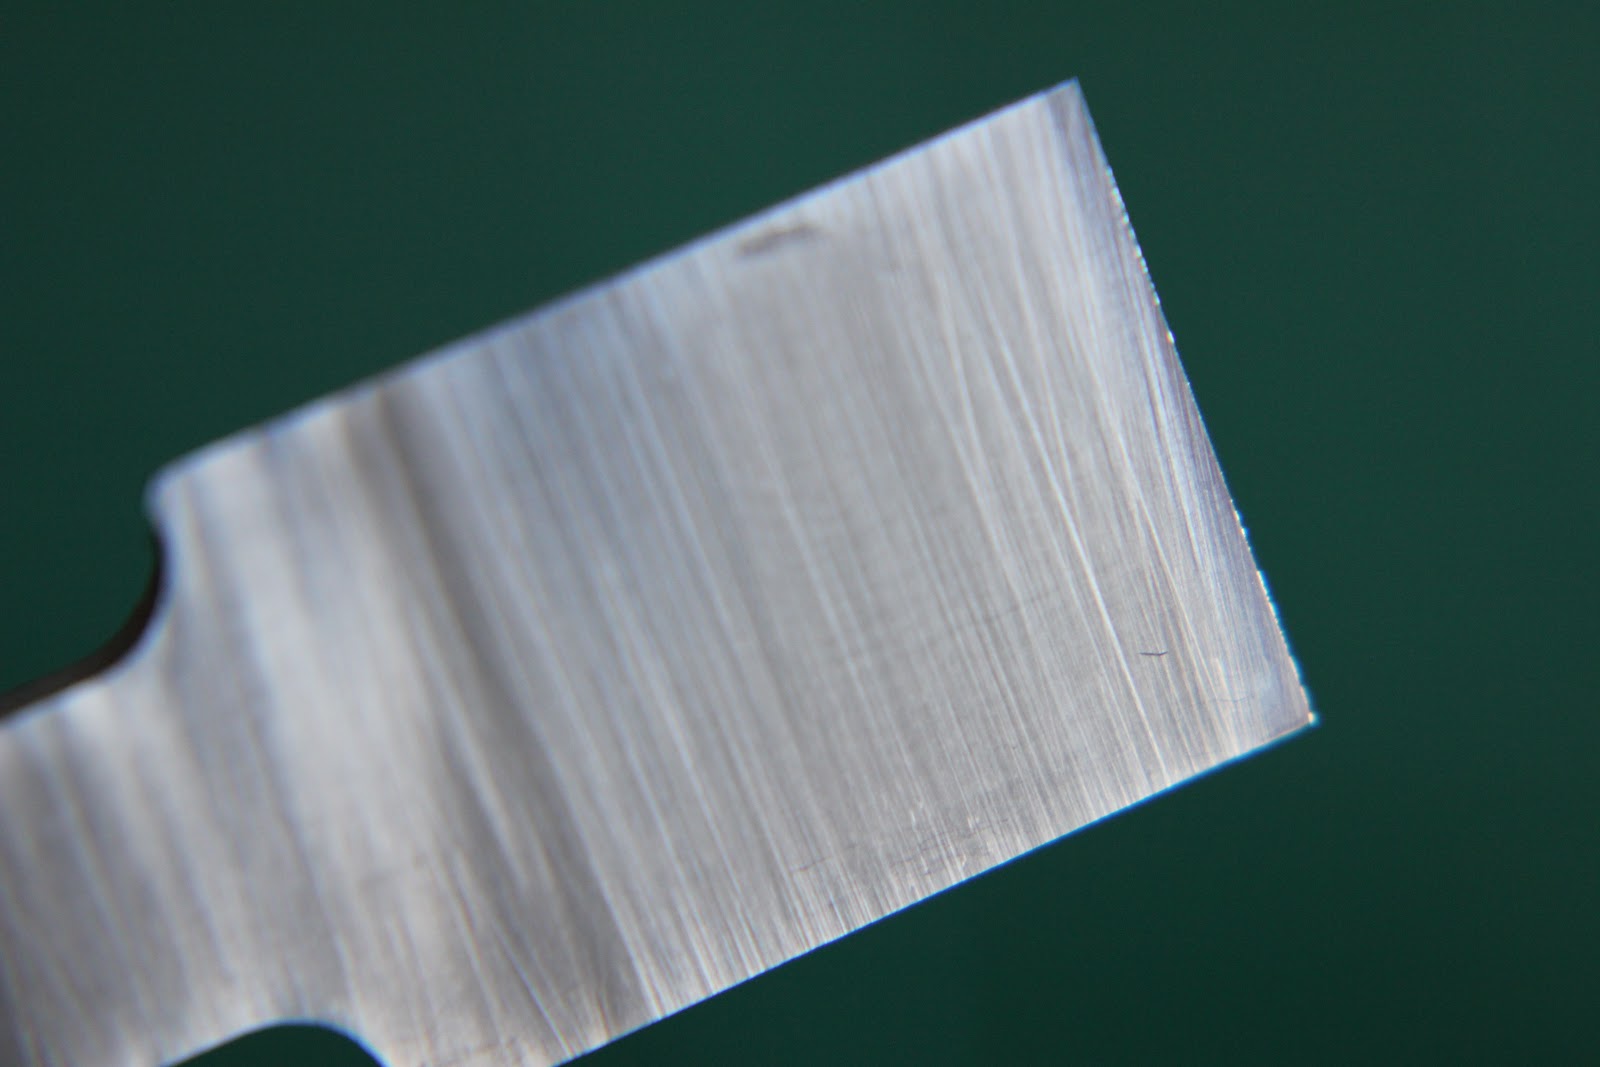
The blade had clearly had some difficulty in it's early life and the final polishing of the back, normally a quick operation on Veritas tools owing to the fine pre-lapping, had resulted in a slightly rounded over edge, possibly from a slightly hollowed stone.


There was also some evidence of the aforementioned crumbling with an uneven hone on the top edge.


Working quickly through the grades from 1000 to 6000 waterstones quickly removed the marks from the back. I decided to re-grind the upper bevel on the Tomek to remove any soft edge and even out the primary bevel before final honing.


A final finish on the 8000 Cerax finished the job nicely.


The upper bevel after re grinding to 25 degrees  and the addition of a small bevel removed the original rounding over and produced a fine edge at 30 degrees.


A test on a small piece of American White Oak confirmed the excellence of the design. It was much easier to hold and control than the traditional Stanley/Record and produced a very fine and even shaving with minimal setting up. The adjustable mouth is another benefit over the Stanley and more important on long grain work like this, rather than end grain.


 Ready for action. All I need is the time for some furniture making.

I have not mentioned the blade side guide grub screws or the Norris type blade adjuster as these are less important in a shoulder plane where the blade needs to be moved from side to side according to the direction of the grain. Clearly you really need a pair of them! Having said that they should probably be set so that they define the limits at each side with the skew adjuster used to even the shaving across the width.


This is truly excellent tool with all the benefits of Veritas development and, whilst it may not be something most woodworkers might use every day, is invaluable when the need arises. The overall quality is stunning and it is a beautiful tool to own and use.